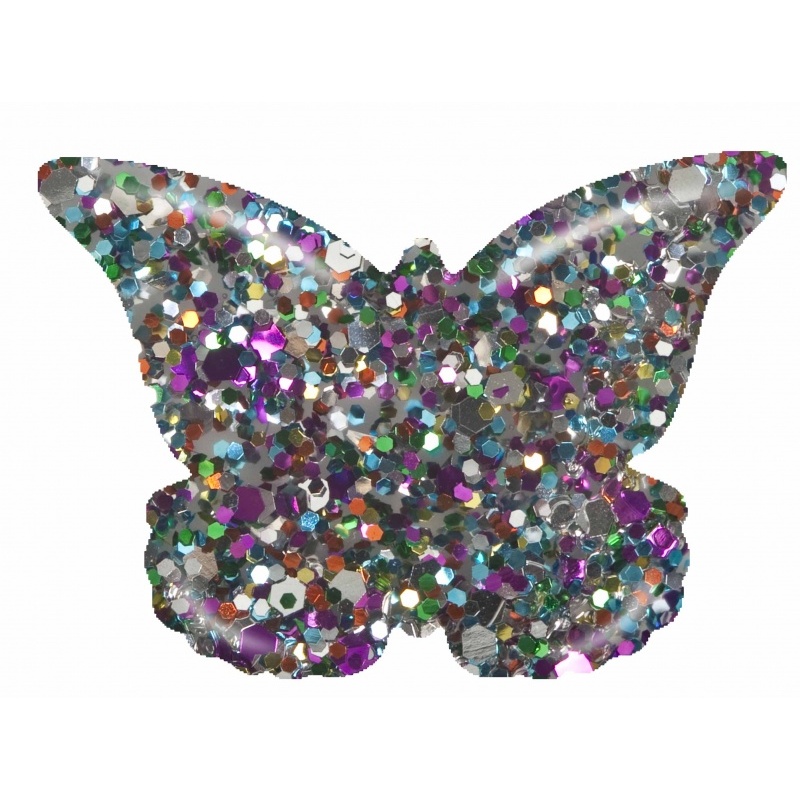
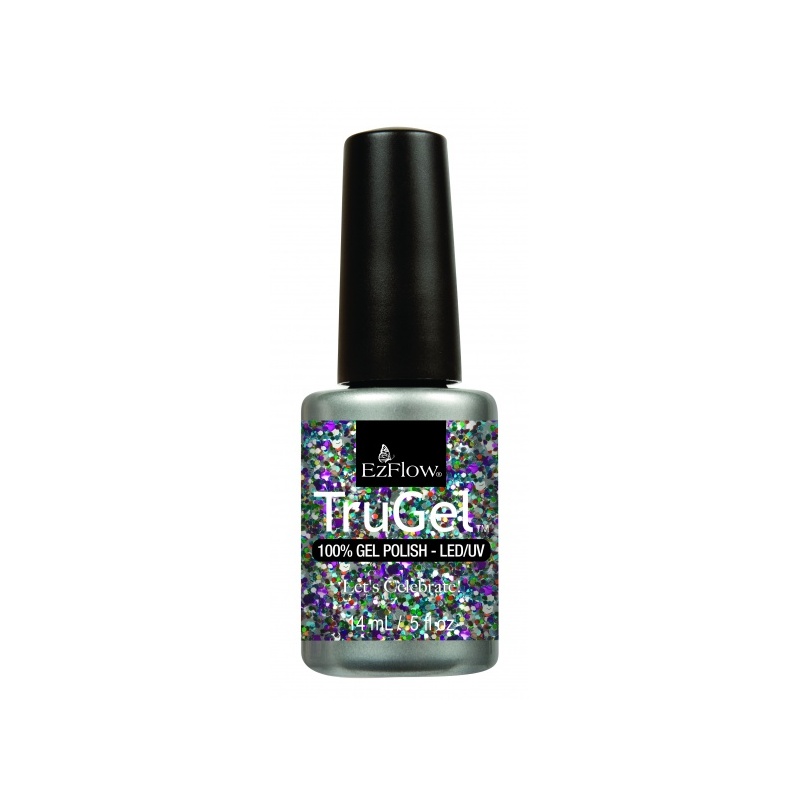
EzFlow TruGel Let's Celebrate! 14ml
7,12 €
12,20 €
Description
Gel Polish Let's Celebrate!
Brush on brilliance with EzFlow TruGel shades of beauty. From nudes to pinks, reds and blues, a gorgeous glossy look is waiting for you. Offered in a variety of finishes - crèmes, shimmers, neons and glitters. Protective gel formula leaves nails healthier & stronger. Safe for natural nails. FOR PROFESSIONAL USE ONLY.
PLEASE NOTE BEFORE YOU BEGIN: Base Coat, Gel Polish and Top Coat application steps are cured separately. EzFlow TruGel is LED and UV curable. Do not cleanse between each coat of Base Coat, Gel Polish and Top Coat -Cleanse AFTER Top Coat has been cured. Nails will remain tacky until alcohol cleansing application is completed. To cleanse, saturate a clean nail wipe with alcohol for each finger. Use EzFlow Bond-It-On Gel Bonder to ensure stronger adhesion. If the UV lamp is not 36 watts, dark shades will have a cure time of 3 minutes instead of 2. Lower output LED lamps will require 60 seconds instead of 30. * Thumb application is to be done separately to ensure proper curing. 1. After all four fingers have been cured and cleansed, repeat all steps on thumbs. 2. Polish and cure thumbs separately to prevent running or pooling. 3. Be sure to press thumbs flat to the base of the lamp to ensure even curing. Step 1: Prep Perform a dry manicure 1. Shape the nail with a 180 grit file. We recommend the EzFlow Grey Fox Pro File. 2. Remove cuticle from the nail plate with a cuticle pusher. If the client has overgrown cuticles, use a cuticle remover. 3. Remove the shine from the nail plate using a 240 grit buffer. We recommend the EzFlow Sand Shark II Pro Buffer. Remove dust with nail wipe. Note: Do not touch the nail with your fingers. 4. Apply a thin coat of Bond-It-On Gel Bonder and let dry. Step 2: EzFlow TruGel Base Coat Application 1. Apply a thin coat to each nail and edge on all four nails on one hand. a. Remove the applicator brush from the bottle and wipe it against the bottle’s neck to remove excess product from the brush. b. Apply Base Coat in the center of the nail starting from cuticle to edge of nail, making sure to keep Base Coat off the cuticle. Note: If Base Coat has touched the cuticle, remove prior to curing the nail by using alcohol and an orangewood stick. c. Be sure to cap the free edge to ensure long wear. 2. Cure all four nails together for 2 minutes in a UV lamp or 30 seconds in a LED lamp. 3. Repeat the process on the other hand and finish with thumb application.* Step 3: EzFlow TruGel Polish Application 1. Roll the bottle between hands to blend. 2. Apply a thin coat of Gel Polish to each nail surface and edge to all nails on one hand. Note: This layer will be slightly sheer if applied correctly. a. Remove the applicator brush from the bottle and wipe one side against the bottle’s neck to remove excess product from the brush. b. Apply Gel Polish in the center of the nail from cuticle to edge of nail, making sure to keep Gel Polish off the cuticle. Note: If Gel Polish has touched the cuticle, remove prior to curing the nail by using alcohol and an orangewood stick. c. Be sure to cap the free edge to ensure long wear. 3. Cure all four nails together for 2 minutes in a UV lamp or 30 seconds in a LED lamp. 4. Apply a second thin coat of Gel Polish to complete application using the same process. This coat will provide full coverage. Cure second coat for 2 minutes in a UV lamp or 30 seconds in a LED lamp. 5. Repeat the process on the other hand and finish with thum application Step 4: EzFlow TruGel Top Coat Application 1. Apply a thin coat to each nail surface and edge on all four nails of one hand. a. Remove the applicator brush from the bottle and wipe it against the bottle’s neck to remove excess product from the brush. b. Apply Top Coat in the center of the nail starting from cuticle to edge of nail, making sure to keep Top Coat off the cuticle. Note: If Top Coat has touched the cuticle, remove prior to curing the nail by using alcohol and an orangewood stick. c. Be sure to cap the free edge to ensure long wear. 2. Cure all four nails together for 2 minutes in a UV lamp or 30 seconds in a LED lamp. 3. Repeat the process on the other hand and finish with thumb application.* Step 5: Cleanse 1. Saturate a nail wipe with alcohol. 2. With light pressure wipe away the top gel film, (also known as thesticky inhibition layer) using a clean saturated nail wipe for each finger, and repeat. Note: Do not re-wipe the nail with a used portion of the nail wipe, as it will re-distribute the film causing dulling to the Top Coat.
EzFlow TruGel Polish REMOVAL 1. With a nail file, break the seal of the gel nail. We recommend the EzFlow Grey Wolf 150 grit Pro File. 2. Saturate a nail wipe or lint-free pad with acetone and place on top of the nail bed. Apply and secure foil under the finger and over the top making sure to cover the nail plate. 3. Leave the remover wrap on the finger for 10 minutes. 4. Securely grip each finger and apply slight pressure to the fingernail. 5. Using a twisting motion, pull the nail wipe and product from the fingernail. 6. Gently glide off any remaining gel polish with a cuticle pusher. Be careful not to scrape away the surface layers of the natural nail plate. 7. Buff any remaining film of product with a buffing block to gently smooth the nail surface. NOTE: If a significant amount of gel polish remains on the nail, due to extended wear or other unique situations, rewrap the nail and allow acetone to penetrate a few more minutes.
Similar products
1,93 €
1,55 €
19,32 €
15,45 €
4,98 €
3,99 €
3,97 €
3,17 €

